
Administrators have the ability to change the color scheme of their account, including the colors of the body background, buttons, links, and more.
How To Set It Up
Account Settings > Account Details > Publishing
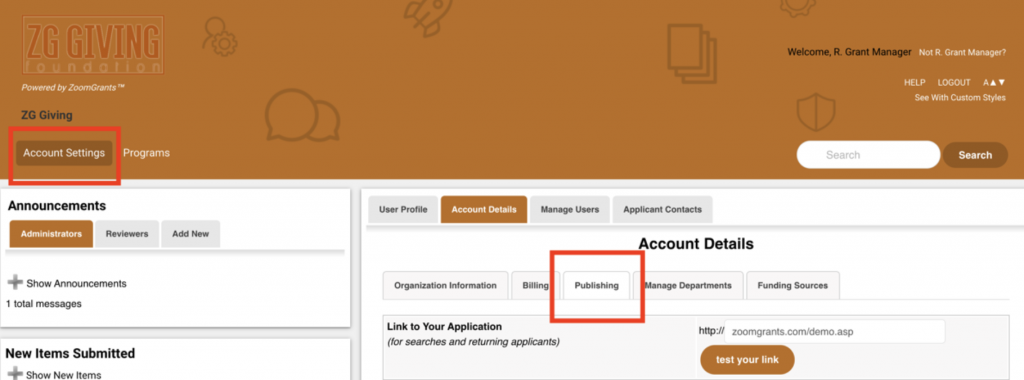
First, navigate to the Account Settings page, then click the Publishing tab.
Customize the Colors
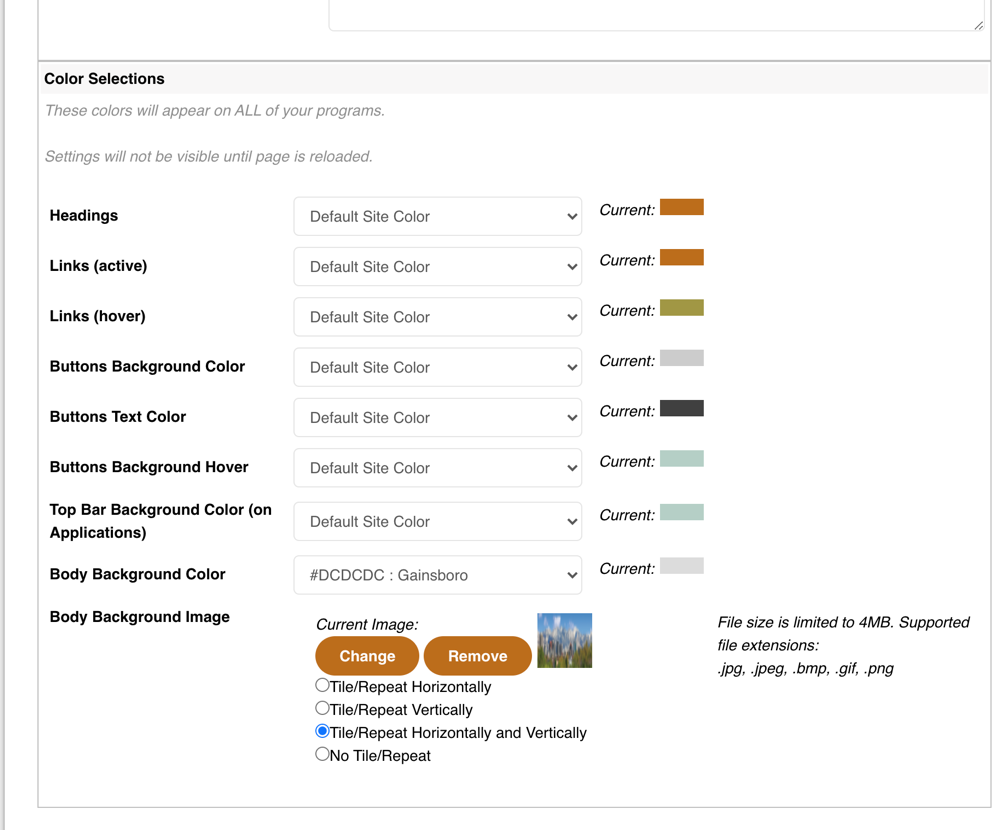
Scroll down to the Color Selections section. All selections will begin at the Default Site Color, but you can use the dropdown boxes to choose customized color selections for your program. The new settings will appear once the page is refreshed.
Uploading a Body Background Image
A Body Background Image can be uploaded to appear in the header section of a page. A few tips regarding the Body Background Image:
- Send your organization’s logo to ZoomGrants (adminquestions@zoomgrants.com) for us to upload first. The size of the logo will affect how tall the header section is, so it’s best to have the logo in place first.
- Start with an image (.jpg, .jpeg, .bmp, .gif, or .png) that’s in the same rectangular shape as the header of the page. It’s difficult to force a square photo, for example, to fit in this space without it becoming distorted.
- Adjust the height/width settings of the photo if it doesn’t fit just right the first time. After uploading an image, you’ll be given the option to Tile/Repeat the image, which can help fill the space if necessary.
- Keep in mind that you’ll need to see the functional buttons in the header, such as Account Settings, Programs, Help, and Logout, so make sure that the colors and positioning of the selected image do not interfere with the ability to see those buttons.