
How to Set it Up
Step 1: Add the New Program
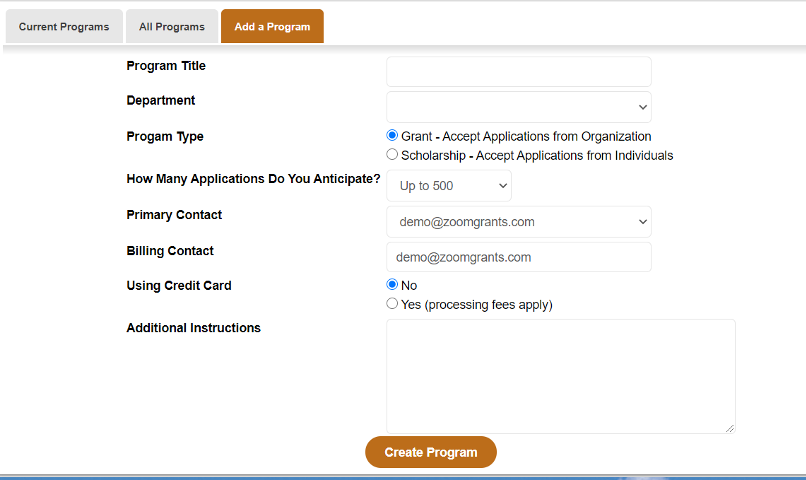
Programs > Add a Program Tab
Add the New Program and provide it a title under Program Setup within that program.
Step 2: Update Administrators
Account Settings > Manage Users Tab > Add A New User Tab
Add any new administrators under the ‘Manage Users’ tab under Account Settings.

Step 3: Navigate to Departments
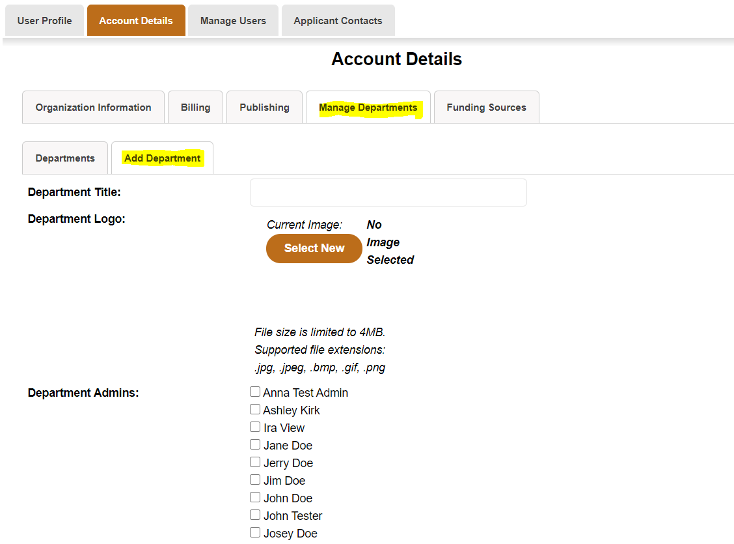
Account Settings > Account Details Tab > Manage Departments Tab > Add Department Tab
Click into Account Details, then Manage Departments, then ‘Add Department’.
Step 4: Add Department
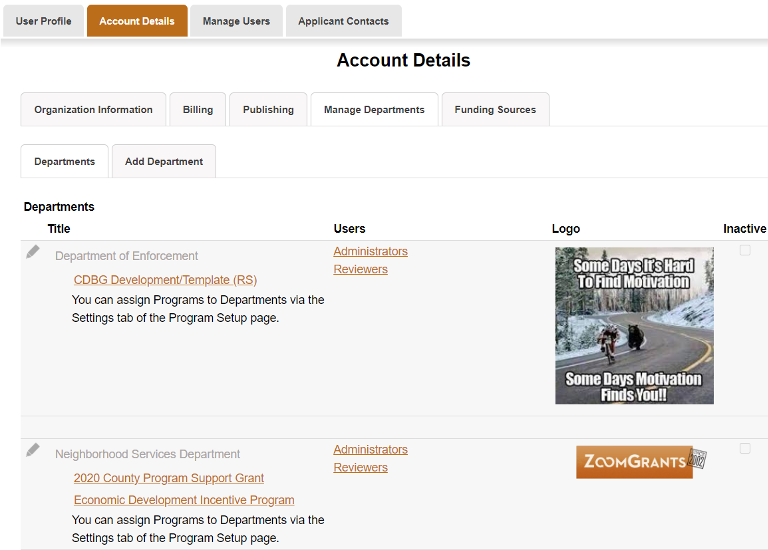
Account Settings > Account Details Tab > Manage Departments Tab > Departments Tab
Provide a title and upload a logo, and select which admins/reviewers will be associated with this ‘department’. Be sure to click the final ‘Add Department’ button at the bottom! You will then see the newly created Department in your Departments list.
Step 5: Assign Admins & Departments
Program Setup > Settings Tab > Administrative Users >> Departments
Next, assign access to admins and designate each new program to the correct Department. Go in Program Setup, and scroll to the bottom of the Settings tab. Click the box under the ‘Access’ column next to the name of the administrator which you would like to provide access to that program.
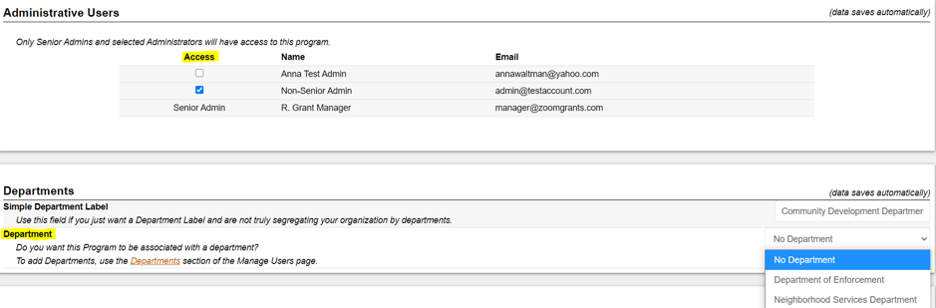
Admins then have two options for associating a department with each program:
- Simple Department Label
- True Department Association
Simple Department Label
This field is simply that – a field. Type in a department title to appear with your program title when your applicants view the online application, like this:

Here, “Community Development Department” is the simple department label.
True Department Association
Choosing a department from the dropdown in the Department field associates a program with a particular department, which limits the administrative and committee users who are eligible to access that program.