How It Works
Filter the applications
Set a filter on the Dashboard
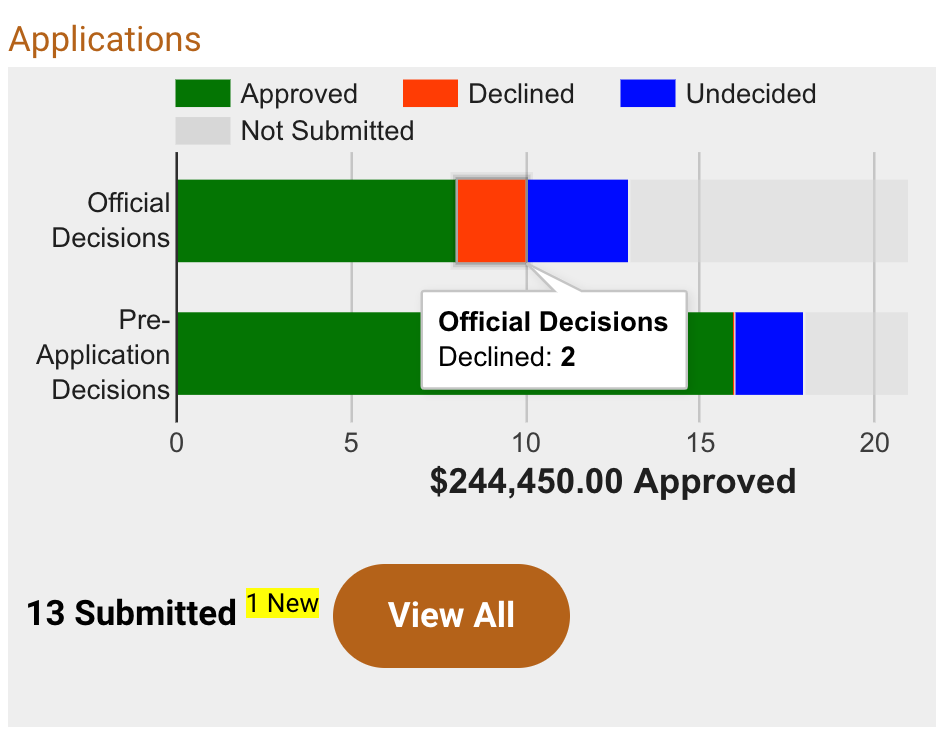
 From the Dashboard, click a section in the stacked bar chart (Undecided, Approved, Declined, Not Submitted) or the ‘View All’ button to access the applications list that displays the applications with that status. You can also click one of the custom status bars to access the applications lists for the applications with those unique tags/labels.
Set a filter in the Applications List
Click the filter icon in the upper right corner to update or set the filter to include different sets of applications. Use the checkboxes and dropdown to indicate which applications you’d like to include. Click the Set Filter button at the bottom of the filter list to set the filter and reload the page to show the appropriate list of applications.
The filter is built using AND statements. If you select options from multiple parameters, they will be combined to search for and display the relevant applications.
The filter icon will appear in front of a colored background if a filter is set. Click the icon then the “clear filter” link at the top of the filter section to remove the filter.
Choose a different set of applications
Click the tabs at the top of the applications list to display different sets of applications.
Sort the applications within the list
Click the column headers to sort the applications list by that column.

Review the applications
Update the applications
If you’re an admin, use the batch and list update features to update the application labels, statuses, or settings.
Other Applications List Actions
- Send Email to Selected
- Send Email to Incomplete [unsubmitted applications]
- Mass Update of Contract Text
