
The Tables tab was built to accommodate more complex data collection.
How It Works
Video Tutorial
How To Set It Up
Program Setup > Settings Tab > Additional Program Modules >> Tables Tab
- Settings Tab
- Tables Tab
Under Additional Program Modules, turn the Tables module ‘On’.
Give the tab a label.
Provide Tables Instructions.
Setting up the Tables
Each of the five tables is set up in the same way, so we’ll just set up the first one.
- Add a Title. Without a title, the table will not appear in the application.
- Add Instructions.
- Set up your Columns.*
- Set up your Line Items/Rows.*
- Set up your Calculated Columns.*
- Use the Applicant View to check your work.
*See below for more detailed instructions
Columns
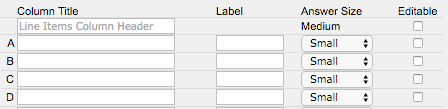
In each table, there are 20 columns to use to capture applicant data.
Line Items Column
The first column is, by default, the Line Items Column. This is the column into which you will put your line items, much like the very first column in a normal spreadsheet.
Additional Columns
For the rest of the columns, you add the text that will act as the header on that column, indicating to applicants what you’d like them to enter in that column. For example, if you’re using the table to capture budget information, you may want to set up Column A as “Last Year’s Budget”, Column B as “This Year’s Budget”, and maybe use Column C as a place for the applicants to enter a description or narrative explanation for this year’s budget numbers. To do that, you’d input that text into the proper fields in the column setup section.
For every column, there are three other settings to select:
Line Items/Rows
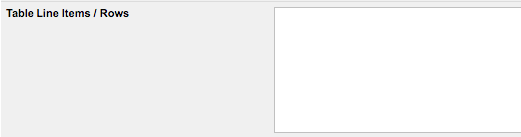
You can add an unlimited number of line items/rows in each table. Type in your line items, one on each line. There are also commands that you can add to the end of a line item to tell the system to do something special with that item or row or to insert a space or blank, editable row:
A couple of notes on the line items:
First, be sure to finish your list with a final carriage return. Type your last line item, hit the ‘Return’ or ‘Enter’ key on your keyboard one more time to put your cursor on the next line, then click outside the box to save your change. The last empty line signals to the system that that is the end of the line items to be presented. If you do not end your list on a carriage return, the system will not display your final line item.
Second, if you’re allowing your applicants to input their own line items and you aren’t sure how many blank fields your applicants will need, err on the side of adding a few extra or using SPACE as a placeholder to allow you to add more lines later. Once the program has opened, you cannot add more lines in between existing lines without creating issues in the data received from applicants.
Calculated Columns
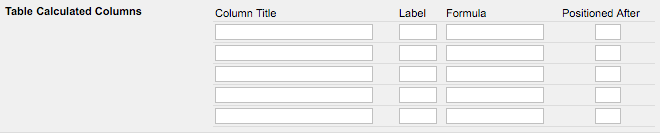
Up to five Calculated Columns can be set up on each table. Unlike the Budget Calculated Columns, these calculations are visible to the applicants in their applications, but they do not calculate automatically. We recommend adding a note to that effect in the instructions for the tab or in each table.
Enter a title for the calculated column in the Column Title box, then enter a label for the column. To create a left-justified label (such as foreign currency), enter the desired label then a dollar sign in parentheses, like this: ($). (Single dollar signs – $ – are automatically left-justified.) Next, type a formula in the Formula box. Use the letters next to the table column titles in the column setup to denote the columns to use in the formula. Only “small” columns can be used in calculations. Acceptable operators are:
- + (addition)
- – (subtraction)
- * (multiplication)
- / (division)
Parentheses can be used to create more complex formulas. An equals sign (=) is not necessary. To position the calculated column after a specific column in the table, enter that column letter in the Positioned After box.
This is one of our more complicated features, so feel free to contact us (adminquestions@zoomgrants.com) if you have questions, need help, or want some tips on how to input your tables!
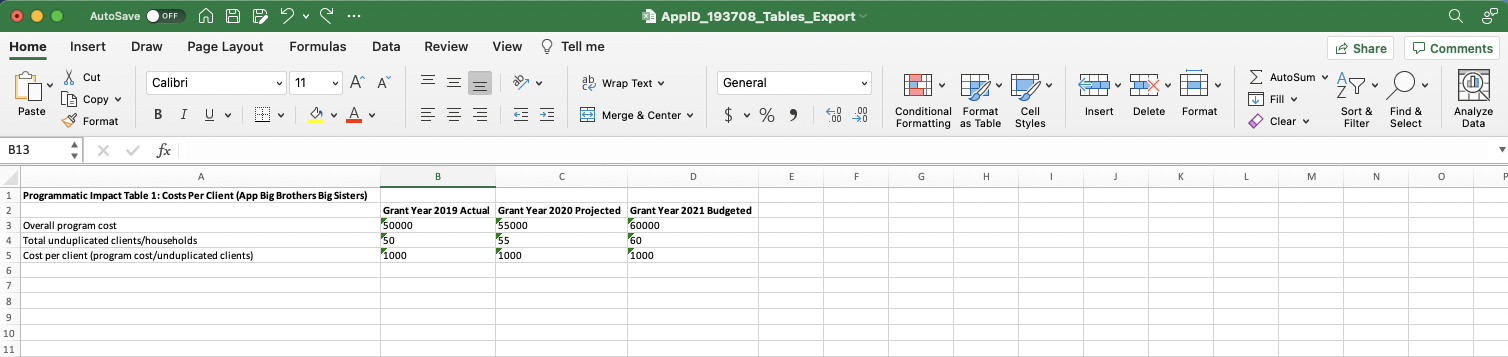
Exporting Tables
Following the submission of an application, ZoomGrants administrators can export individual tables that are completed by applicants via Excel.
- Via the ‘Dashboard’ access the ‘Applications’ page
- Click the title of the Application that you are referencing.
- Click the Excel icon that populates above the table you wish to download.
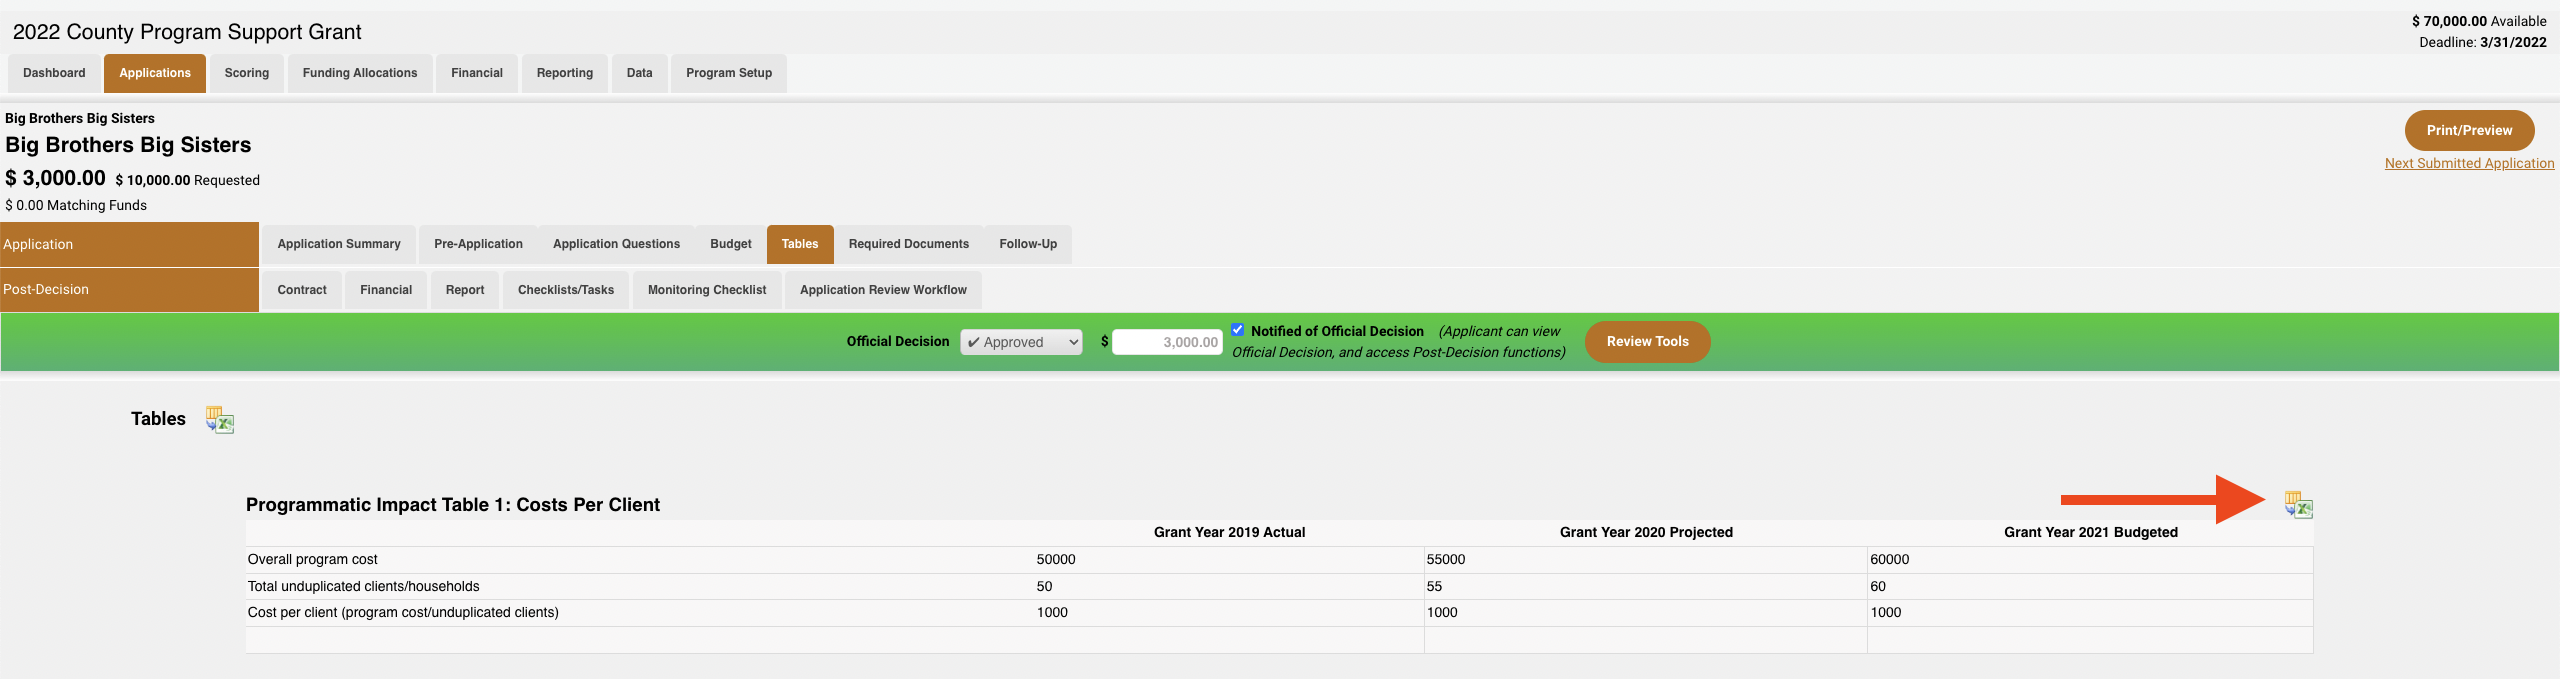
4. The download can be accessed via your systems ‘Downloads’ folder.
If your table is utilizing a ‘Checkbox’ style question within the table, Excel will not render the answers from the applicant in the file.
Exporting Tables
Following the submission of an application, ZoomGrants administrators can export individual tables that are completed by applicants via Excel.
- Via the ‘Dashboard’ access the ‘Applications’ page
- Click the title of the Application that you are referencing.
- Click the Excel icon that populates above the table you wish to download.
Tables Certification Text
Administrative users can now enforce a digital authorization process to ensure applicants thoroughly complete and review the Tables section before submitting their applications.
How It Works
1. Customizable Authorization Statement
- Administrators can create a custom statement to clarify what applicants agree to or confirm.
- This statement appears at the bottom of the Tables tab for applicants to authorize.
2. Digital Signature Requirement
- Applicants must provide a digital signature in the designated fields at the bottom of the tabs.
- These fields must be signed before the sections can be marked “complete.”
3. Completion Validation
- The Check for Completion feature will block application submissions if the required digital signatures are missing.
How to Set It Up
- Navigate to Program Setup.
- Access the Tables tab.
- Locate the Authorization Statement field.
- Enter the text for the authorization statement that applicants should see.
- Entering text turns the feature “on.”
- Leave the field blank if you do not want to use this feature.